
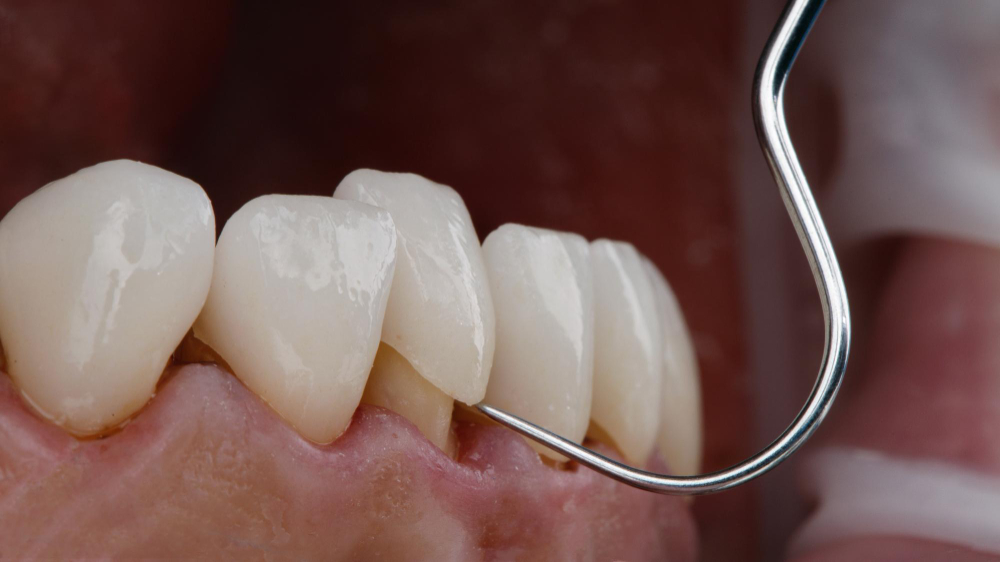
Dental veneers are thin covers placed on the front of teeth. They help improve your smile by fixing chips, stains, or gaps. Many people choose veneers for a brighter, more even look. If you are thinking about this treatment, it is helpful to know the 3 step procedure for dental veneers. This guide explains each step, so you know what to expect during the dental veneer process.
Step 1 – Consultation and Planning
First, you will visit your dentist for a consultation. During this visit, your dentist will check your teeth and gums. They will ask about your goals and explain if veneers are right for you. Sometimes, X-rays or photos are taken to help with planning.
Next, you and your dentist will discuss the shape, size, and color of your veneers. This planning step is important for a natural look. For best results, bring photos of smiles you like. Also, tell your dentist about any dental problems or allergies.
After this visit, your dentist will create a treatment plan just for you. According to the American Dental Association (ADA), good planning helps ensure a safe and effective outcome.
Step 2 – Tooth Preparation
Once you agree on a plan, the next step is tooth preparation. During this visit, your dentist will gently remove a thin layer of enamel from the front of your teeth. This makes space for the veneers and helps them fit well.
Usually, this step is painless. However, your dentist may use a local numbing gel to keep you comfortable. After shaping your teeth, your dentist will take impressions. These molds are sent to a dental lab, where your custom veneers are made.
While you wait for your permanent veneers, you might wear temporary ones. This helps protect your teeth and lets you see how your new smile will look.
Step 3 – Veneer Placement
Finally, your dentist will place the finished veneers. First, they will check the fit and color. If needed, small changes are made for comfort and appearance. Then, your teeth are cleaned and prepared for bonding.
Next, the dentist uses a special dental cement to attach each veneer. A light is used to harden the cement quickly. After all veneers are in place, your dentist will check your bite and make final adjustments.
After the procedure, you may feel mild sensitivity. However, this usually goes away in a few days. Your dentist will give you aftercare tips, such as avoiding hard foods and brushing gently. Good care helps your veneers last longer.
Benefits of the 3 Step Procedure
Following the 3 step procedure for dental veneers offers many benefits. For example, each stage is designed for safety and comfort. In addition, careful planning leads to natural-looking results. Here are some key advantages:
Moreover, this step-by-step process helps prevent problems and ensures you are happy with your new smile.
Frequently Asked Questions
Conclusion
In summary, the 3 step procedure for dental veneers includes consultation, tooth preparation, and veneer placement. Each step is important for a safe and beautiful result. If you are thinking about improving your smile, consult Dr. Sneha Goud for personalized advice on dental veneers.